
When we invest our money in expensive equipment, like a turntable, we tend to treat it like it’s fragile. Even when we purchase high-quality Crosley players, we use the device with kid gloves.
No matter how durable the materials are, most of us think it’s better safe than sorry.
That’s why taking extra special care of your device is crucial. Part of this maintenance is regular scrubbing.
So, if you’re wondering how to clean Crosley turntables, you’ve come to the right place. Let’s take a look at the steps you can follow to keep your device spotless.
Cleaning Crosley Turntables
You can get rid of most dust and debris using the Crosley Cleaning Kit. Use the brush and the solution to scrub the device. However, you may also use other household items for a thorough cleaning.
Without further ado, let’s walk through how to clean Crosley turntables one step at a time.
Step 1: Gathering Materials and Tools
The first step of cleaning a Crosley turntable is collecting the materials and tools you’ll need. Regardless of the type of device you’re using, these will usually be the same.
- Large brush
- Cleaning solution
- Microfiber cloth
- Small detail bush
Crosley offers a cleaning kit on their website with the large brush and solution as a package. However, these aren’t strictly necessary.
If you prefer, you can use any large brush with incredibly soft bristles. As for the solution, it’s possible to substitute it for a little rubbing alcohol.
You should be able to find most of these supplies at your local hardware store.
Gathering all your equipment before you clean will make the process a little easier. Plus, you won’t have to step away from the device and risk something going wrong.

Step 2: Disassembling the Device
Once all of your materials are ready, it’s time to disassemble the device. This is arguably the most challenging part of the entire process.
First off, make sure the turntable is empty. Remove records you may store in, or around, the device.
Then, depending on the model of your turntable, taking it apart will be a little different. That’s why it’s a good idea to rely on the user manual.
Related: Here’s how to clean dual turntables
The guide should include full instructions for removing the different parts. Start by detaching the cartridge and tonearm.
You may also be able to remove other components, like the belt or the lid.
Take your time with this step and ensure all the sections are intact. Any minor damage to the parts may stop the device from fitting back together.
Step 3: Cleaning the Stylus and Tonearm
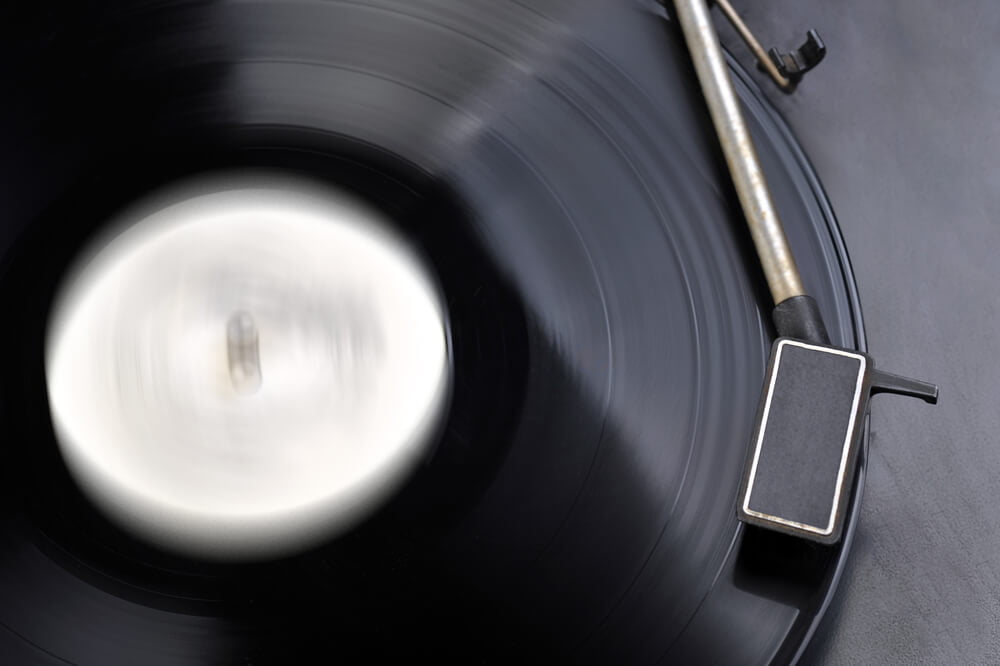
The stylus is the part of the cartridge that comes into contact with the vinyl record. That means it’s usually under a lot of tension and friction.
So, before you begin scrubbing away at the stylus, you may want to inspect it. Ensure that the tip of the component is still intact.
If you notice clear signs of wear and tear, it’s best to replace the cartridge altogether.
When degrading isn’t an issue, you can break out the small brush. Here you’re focusing on removing dust from the tip of the stylus.
Read more: How to clean turntable cartridge?
While you do this, it’s crucial to only use forward and backward motions. Moving the tip to either side may risk bending the whole structure.
Then, you can move on to the tonearm. This section should be in excellent condition and only in need of a good dusting.
You can also do that with a small brush.
Step 4: Cleaning the Platter
The platter is a circular platform with a sizable surface area. Unfortunately, that means it’ll collect dust quite quickly.
To deal with that, pull out your large brush and lightly dampen it with a little cleaning solution. Your brush shouldn’t be wet, just a few drops of the liquid should do the trick.
Next, gently wipe the surface of the platter using big circular movements. Remember not to apply much strength here.
The platter sits on a sensitive mechanism, and excessive force can damage it.
Step 5: Wiping Down the Turntable
After cleaning the platter, you’re practically done. All that’s left to do is polish the rest of the device.
Using a microfiber towel, go over the entire surface of your Crosley turntable. Wipe the platter, tonearm, and stylus.
You can also dust the lid, plinth, and feet for a more thorough cleaning.
During this step, pay close attention to any leftover moisture. If there are patches of the solution or rubbing alcohol left behind, make sure to dry them.
Otherwise, the small amount of liquid can interfere with the audio quality.
As an added precautionary step, let the turntable components air dry for a few minutes.
Step 6: Reassembling the Turntable
Finally, it’s time to put the components back where they belong. This process should be the exact opposite of taking the device apart.
So, while using the user manual, work your way back to a fully assembled turntable.
While doing so, carefully place all the components into position. This may be a little tricky for some Crosley devices, so don’t try to force it.
With a little patience and persistence, everything should fit into place.
General Maintenance
The cleaning process is pretty straightforward, but it can be a little time-consuming. Luckily, there’s an alternative for the full scrub down.
With routine maintenance, your Crosley turntable should only need cleaning every few months.
For starters, keep the device in a cool, dry area. It’s key that you reduce moisture exposure to keep your device in tip-top condition.
Other than that, always close the turntable lid when you’re not using the gadget. This will ensure that little to no dust will make its way onto the cartridge and tonearm.

Related: Replacing The Needle on a Crosley Record Player
It’s also a good idea to clean the device after every use. You don’t need a brush for this, a regular duster will get rid of most of the debris.
Lastly, you may want to invest in a platter mat to keep the surface spotless.