
It’s funny how a small tool like the record player’s needle can have such a significant impact on your audio experience. As a matter of fact, without a functional needle on your record player, you won’t be able to listen to music from your vinyl records.
Yet, eventually, you’ll have to replace the needle on your record player because it gets worn out with time. So, if you want to learn how to replace the needle on a Crosley record player, keep reading.
How to Replace Needle On Crosley Record Player
Some turntables and record players come with the needle built into the cartridge, but Crosley models aren’t. Because the needle is separate from the cartridge, the process of replacing an old needle should be straightforward.
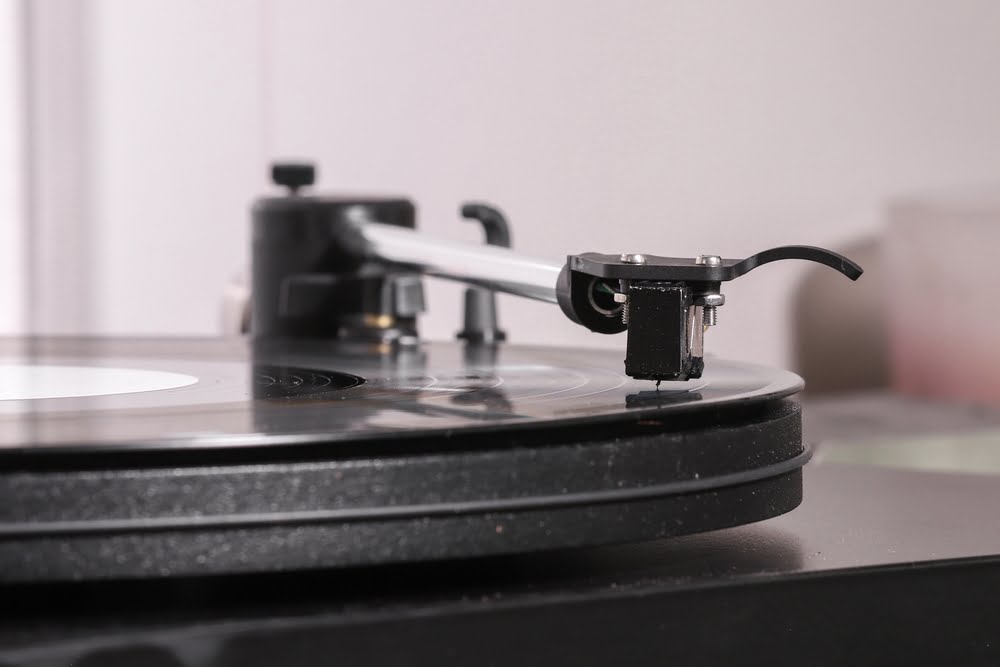
The needle moves along the grooves in the records, reading them by sending vibrations to the cartridge. These vibrations then turn into electrical signals that are sent to the amplifier and speakers, so you can start enjoying your favorite tracks.
The importance of this small piece of accessory explains why paying attention to its quality and status is essential when you’re shopping for a new or old record player. Luckily, Crosley has been making high-quality turntables with excellent and well-built components since 1992, becoming one of the leading brands in the turntables market.
Before you jump onto replacing your record player’s needle, you must make sure you’re buying a compatible one to replace the old one. Crosley offers two types of needles, sapphire and diamond-tipped needles, and each type is compatible with specific turntable record player models.
The sapphire-tipped models don’t last long, while the diamond-tipped needles can work up to 1000 hours and are designed to last for longer periods. However, eventually, they get worn out and damaged, too. Both types are easy to remove, as long as you follow the right steps.
Using a special cleaning solution from Crosley will keep the needle clean, extend its life, and improve its performance. You should also avoid touching the new needle after replacing it because you might accidentally damage it.
The replacement technique isn’t tricky, but the technique can slightly differ depending on the model of your Crosley needle you’re using.
Users Also Read: What to do with damaged vinyl records?
NP1 Needle
- The first step is to clear the way, so you can easily replace the needle on your record player. Loosen the tonearm and firmly hold it with your hand to easily access the old needle to be able to replace it.
- With the other hand, grab the plastic part and gently insert your thumbnail between the red and black plastic parts to loosen the needle. If you can’t do that, you can use a pair of tweezers to pull the plastic and reveal the old needle.
- Gently pull out the old needle by pressing the red part down and pulling it towards you. There will be slight resistance, but make sure that you don’t press too hard.
- Get the new needle and hold it at a slight angle. Then, press the back end into the cartridge, ensuring that you don’t touch the tip with your fingers.
- Secure the needle by pressing the front piece to clip it. You’ll be done when you hear a snap.
NP3 or NS1 Needle
- Start by loosening the tonearm to be able to access the needle easily.
- Gently pull down the white part and pull it out to remove it.
- Hold the new needle at a slight angle and hold it to insert it into the grooves of the tonearm.
- Apply upper pressure until the new needle snaps in place.
NP4 Needle
Loosen the tonearm and hold it with your non-dominant hand, so you can easily remove the old needle and install a new one.
Grab both sides of the red plastic with your thumb and pointer finger and pull the plastic part forward until the old needle is no longer attached to the tonearm.
Position the new needle in line with the tonearm and gently press until it snaps in place.
NP5 Needle
- Unclip the tonearm.
- With your non-dominant hand, hold the tip of your tonearm and use the fingers of the other hand to separate the white cartridge from the head. If your fingers are too big, you can use a pair of tweezers.
- Pull the old needle down and towards you to disengage it.
- Insert the new needle’s end towards the open tab in the cartridge.
- Push it in place until it’s secured.
Users also read: How to Replace NP6 Needle?
Why Do You Need to Replace the Needle on Your Crosley Record Player?
No matter how well-made your needle seems, eventually, it wears out and needs to be replaced. Unfortunately, the wrong handling of the needle can also make it unusable, so you might need to replace it before the suggested lifespan. Here are some reasons why you need to consider replacing the needle on your record player.
- If you’ve recently bought a used turntable and are unsure how many hours it has worked, it’s recommended to change the stylus immediately. Using a damaged needle will ruin your vinyl records for good.
- You’ve had the same stylus or needle for more than three years. If you use your record player more frequently, you’ll have to change it more often.
- The needle looks visibly damaged. It might be bent, or the end looks jagged, and using it will scratch and damage your records.
- The needle starts to bounce forward or skip while playing your records.
- You notice that your favorite records don’t sound the same anymore. With more sibilance in the audio output, your needle will probably have a problem, and you need to replace it immediately.
- Your music sounds distorted and scratchy.
- The tip of the needle doesn’t look clean, and there’s a black residue that covers it. In some cases, cleaning the tip with a cleaning solution and a soft brush will work, but in most cases, you’ll have to replace it with a new one to avoid ruining your vinyl records.