
Believe it or not, turntables have more film cameos than most of the devices we use every day.
The platter is a crucial component of your turntable, but you might consider replacing it with a better one to enhance your audio experience. You can also remove the turntable platter to fix the motor of a used turntable or clean it if it is left without any protection from dust and other debris.
However, before you proceed to pick up the platter, you need to handle this piece of equipment with extreme care. Keep reading to learn how to remove the turntable platter from your turntable without damaging it, so you can enjoy your favorite music tracks whenever you want.
How to Remove the Turntable Platter Step by Step
Understanding the components of the turntable is essential if you want to remove the turntable platter. Turntable platters come in different models and shapes, so you need to make sure that you’re following the right steps, or you’ll break the platter.
The platter plays a crucial role in delivering the audio experience you expect from your turntable. It maintains the speed consistency while you’re playing your favorite vinyl records and prevents vibrations from reaching the stylus to affect the audio experience you’re enjoying.
There are a few factors that you need to take into consideration before removing the turntable platter from your turntable.
- The brand of your turntable.
- The model or the version you have.
- The design of the platter and the position of the lock or C-clip, if there’s one.
The following steps are universal, and this means that they work with turntables. However, if you have a special brand or your model is designed differently, you’ll need to follow the manufacturer’s instructions to avoid damaging your turntable.
Prepare Your Hands
Using your hands to remove the platter from your turntable is always a good idea. You can also use a tool, like a pair of tweezers or a screwdriver, but your hands are more gentle and won’t damage the material of the platter. However, if you’re planning to throw the old platter away, you can always use your tweezers or screwdriver as a tool will be faster.
Wash your hands and dry them properly before touching the turntable platter. Any oil residue, grime, or dirt will accumulate on the platter and eventually affect your vinyl records.
Set Up Your Turntable
Before attempting to remove the turntable platter, ensure that your turntable isn’t connected to the electricity and it’s turned off. You don’t want to remove the platter while it’s spinning because this will damage it.
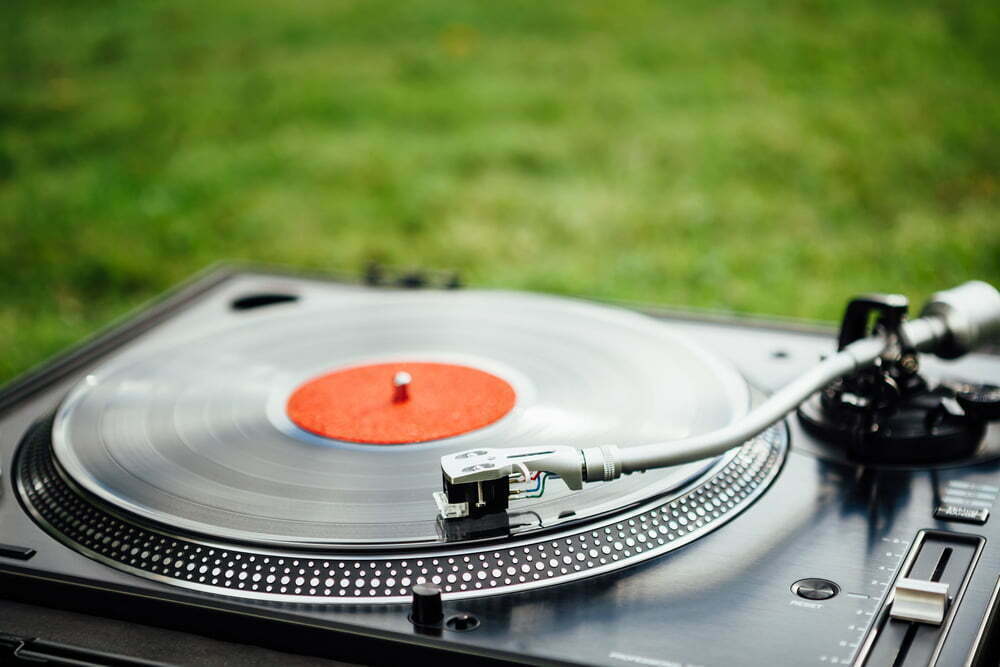
Remove the tonearm or stylus and place it away gently. Then remove the dust cover, which is supposed to protect your turntable from dust accumulation. You should also remove the rubber mat.
Open the corner of your turntable to reveal the place where the belt of the platter is secured. Some models don’t have this belt, so you can skip this step.
Remove the Platter
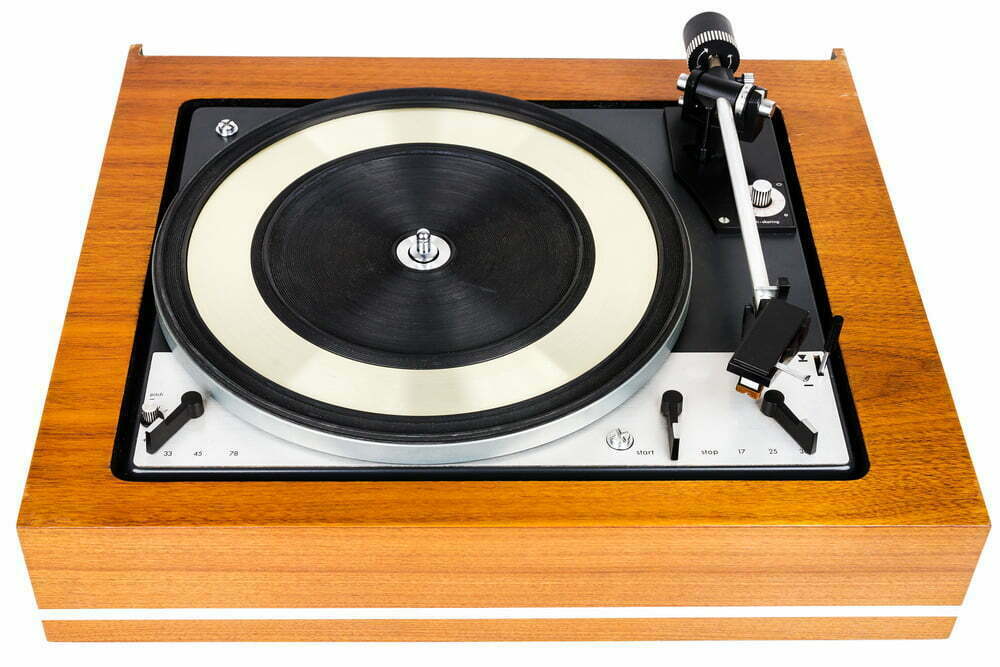
Some turntable platters have holes on the sides, while others come with a spindle in the middle that you can easily pick up to remove the platter.
Removing a turntable platter that has a spindle that is not attached is a straightforward task. You just grab the platter and gently pick it up. First, however, you need to make sure that the model of your platter isn’t attached to the bottom of the turntable because you might accidentally break it.
If the platter comes with holes, use your pointer and middle finger to lift it up, and then use the thumbs to push down the spindle to unlock it if it’s attached from the bottom.
An attached platter requires another step, so you have to unlock the spindle first and remove the metal piece or C-clip that keeps the spindle in place. After that, you can lift it using your pointer and middle fingers.
Place the Platter Back
After removing the platter, you can use a microfiber cloth to gently clean the platter’s surface and the overall turntable to ensure no dust will build up under the platter. You can also clean the platter itself by wiping it gently in circular motions.
If your goal was to fix the motor, do this and make sure that everything is working fine before placing the platter back. Examine the turntable and ensure that all the internal parts are in place.
Once you’ve cleaned everything, it’s time to add a new platter or install your old one by following these steps.
- Check the belt on your turntable platter and gently replace it around it. If your platter doesn’t come with one, you can skip this step.
- Make sure that the platter is inserted and that the spindle moves freely.
- If there’s a lock, attach it to secure the spindle.
Related: How to Replace NP6 Needle?
Benefits of Removing the Turntable Platter
There are several reasons why you might want to remove the turntable platter in the first place.
- The platter is broken because you’ve dropped the turntable or you’ve placed something heavy on top. In this case, it won’t be able to spin your vinyl records appropriately, and you won’t be able to enjoy your favorite music tracks.
- You removed the dust cover earlier. The dust cover is crucial to protect your turntable platter, record, and all the internal parts from dust, but some people remove it because it affects the quality of the audio played. Unfortunately, this means that the turntable will stay exposed, and this can make it more prone to dust and debris accumulation, in addition to scratches.
- You weren’t storing the turntable properly, so dust and debris have accumulated on the surface of the turntable platter. The accumulation of dust particles can damage your vinyl records beyond repair.
- The motor of your turntable is broken and you need to repair the internal parts.
- You want to replace your old turntable platter with a new one. An acrylic platter will be an excellent addition to your turntable instead of an MDF one because it’s heavier, so it delivers better speed consistency.
Moreover, an acrylic platter minimizes all the unwanted vibrations, thanks to its high density. As a result, you can enjoy better audio detail as it dissipates any vibrations that might distort your music.