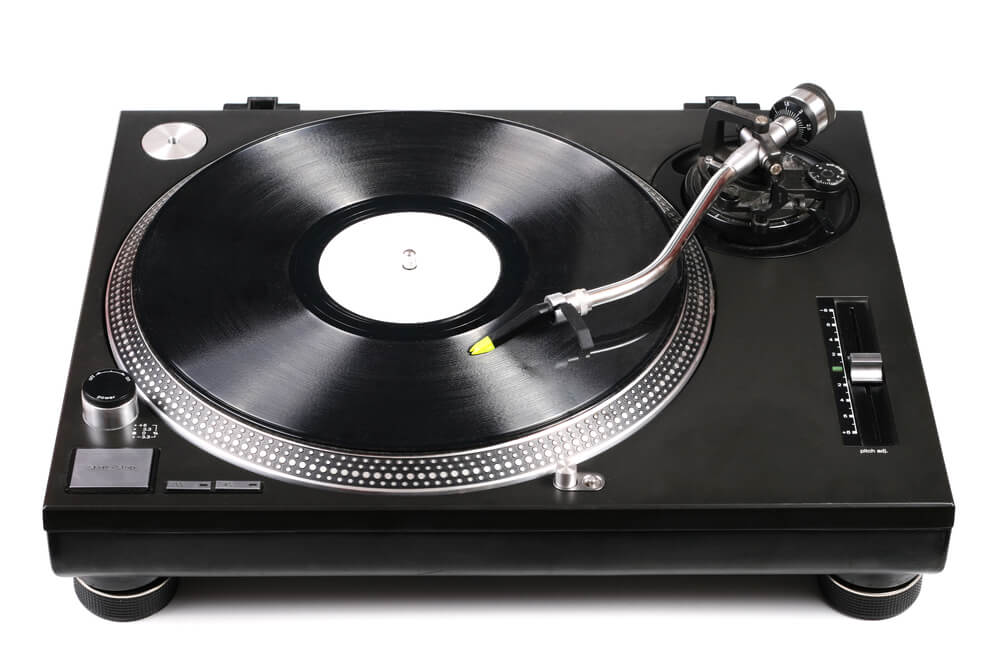
If your turntable isn’t grounded correctly, you can expect to get a humming, distorted sound out of it. Sound issues are endless when your equipment isn’t all connected at the same ground, especially if you don’t have an essential piece, like a receiver.
Do you know how to ground a turntable without a receiver?
It’s relatively easy. All you have to do is to connect an external preamp to the turntable using the ground wire. The ground wire is mostly found inside the turntable’s chassis, but you can always get a new one if your device comes without it.
Read on for in-detail steps of grounding the turntable without a receiver.

What Do You Need to Ground a Turntable Without a Receiver?
Before you attempt to ground a turntable without a receiver, you’ll want to know what equipment you’ll need, so the process can go smoothly without a hitch. So here’s a brief roundup:
Preamp
Whether you need a preamp or not depends on your turntable model. Some turntables come with a built-in internal preamp. So, in this case, you can easily connect the speakers to it without needing an external one or a receiver.
Some models, though, come without a preamp. So to ground them, you’ll need to get an external preamp to connect it to the speakers.
If you don’t know whether your turntable has a built-in preamp, you can always check its manual or search for its specs online.
You don’t need to get a preamp when you have a receiver because it already has one built-in.
Must read: Why Is My Turntable Playing Too Slow?
Grounding Wire
If your model needs an external preamp, you’ll need a ground wire to connect it. Some turntables come with green grounding wires hidden beneath the chassis, but in case yours doesn’t, make sure to get it beforehand.
Aim at a 20-inch length to ensure you won’t need an extension. And make sure the wire is well-insulated.
Grounding Terminal
Before starting the steps, ensure that your external preamp has a grounding terminal for the grounding wire. That’s where you’ll connect the wire that goes through to the turntable. The grounding terminal will be a traditional screw model, or you’ll find it with knots if the device is modern.
If your preamp doesn’t have it, you can always make one yourself using DIY tutorials.
How to Ground a Turntable Without a Receiver
Grounding your turntable without a receiver should be easy enough, even if you don’t usually do these kinds of tasks. It doesn’t require any technical skills; just follow the steps closely, and you’ll be fine.
Step 1: Turn Everything Off
Before you proceed, make sure your turntable is off and unplugged. The same goes for your amplifier, which will cause a nuisance if you attempt to connect it to the turntable while it’s on.
Next, ensure you’re working in a dry area and that your hands aren’t wet. Acting carelessly around electrical equipment can cause unnecessary accidents.
It’s better to use insulated wires only, as well. Bare wires should be left for pros to deal with.
Step 2: Uncover the Grounding Wire
In most turntables, the ground wire is green, and it’s usually tucked under the chassis with plenty of other wires.
To make sure of that, you’ll need to uncover and look under the chassis and try to identify the wire. If you’re not sure it’s green, it’d be wise to look at the manufacturer’s manual.
Some grounding wires come in yellow color, and some others are green with a yellow stripe. Meanwhile, some wires come without any insulation, so you won’t see any colors to identify, but those are only in vintage models.
After you find the green wire, unwrap it and remove the tie covering it.

Step 3: Connect the Wire to the Terminal
Remember what I said before about the grounding terminal? Now you’ll get to use it. First, check the external amplifier to see if any terminal is labeled ‘ground.’ It should be a screw terminal. If you find it, this is what you’re looking for.
If you don’t find it, you may be looking for the wrong shape. Depending on the turntable’s model and year of making, it may have a terminal with knots or shafts.
After you find it, start loosening it, then connect the ground wire you found earlier to it. To make sure that the connection stays put, grab the spade connector—you should find it with the ground wire under the turntable’s chassis—and tighten the connection.
Step 4: Turn Everything On and Test
Now that everything is in place, the only step remaining is to test your connections. To do so, make sure first that there aren’t any bare wires that could serve as safety hazards. Next, turn both the external preamp and the turntable on.
Test the sound; if it’s alright without any humming or distortion, you did everything right. If it’s not, there’s a chance you missed one of the steps. In this case, you can turn everything off and revise the steps to know what you did wrong.
User also read: Crosley Cruiser Vs. Voyager: Which Is Better?
What Happens If You Don’t Ground Your Turntable?
If you think the steps are too much of a hassle, and it’s easier to leave the turntable as it is, hear me out. To understand the consequences, you need to know why we ground turntables in the first place.
A ground wire keeps the amp and the turntable at the same ground, which is the zero reference level that dictates the rest of the measurements.
When your equipment isn’t at the same ground, a ground loop will occur, which is basically an alternating current that passes between the cables, creating a hum.
No matter how minor, that hum will still ruin your sound because preamps are highly sensitive. So, any distortion or humming will be as clear as day.
Grounding the turntable makes sure that all your equipment is working at the same ground, which will keep the sound clear and accurate.

