

Have you noticed your Dual turntable acting up lately? Maybe the audio is a little scratchy, or you face some glitching during playback.
If that’s the case, your device may be in need of some tuning up and maintenance. To help you do that, we’ll walk you through how to clean Dual turntables.
Generally, you’ll have to disassemble the device first. Then, scrub the entire turntable with a soft brush and a little alcohol. Finally, let the gadget dry entirely before putting it back together.
Let’s take a look at what you’ll need to thoroughly clean Dual turntables.
Cleaning Dual Turntables
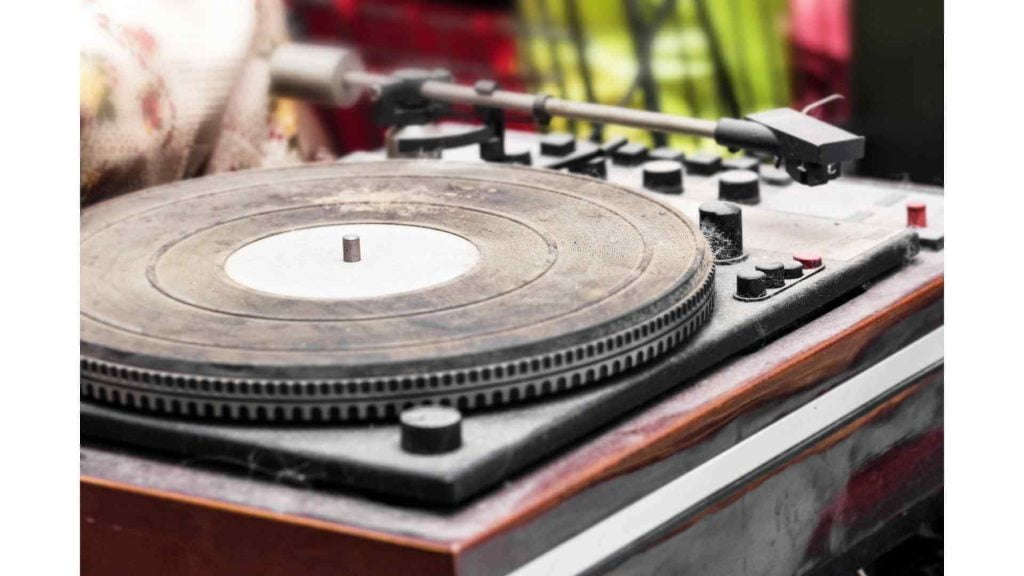
As turntable users, we all focus on getting the best audio quality possible. Unfortunately, dust can get in the way of that.
Over time, particles and other debris can build up on your Dual turntable. When that happens, the device won’t be able to perform as well.
For that reason, every once in a while, you need to clean it out. Typically, once every four or five months should do the trick.
However, if you live in a particularly dusty area, it’s best to wipe down the turntable every couple of months.
So, without further ado, let’s dive into the steps of cleaning a Dual turntable.
Step 1: Collect Materials
Cleaning a Dual turntable can be a time-consuming process. You have to remove certain parts and wipe them down individually.
Some of these sections are tiny and require a lot of care. That’s why it’s best to gather all your materials before you start scrubbing.
This way, you won’t have to move away from your cleaning station until you’re done with the project.
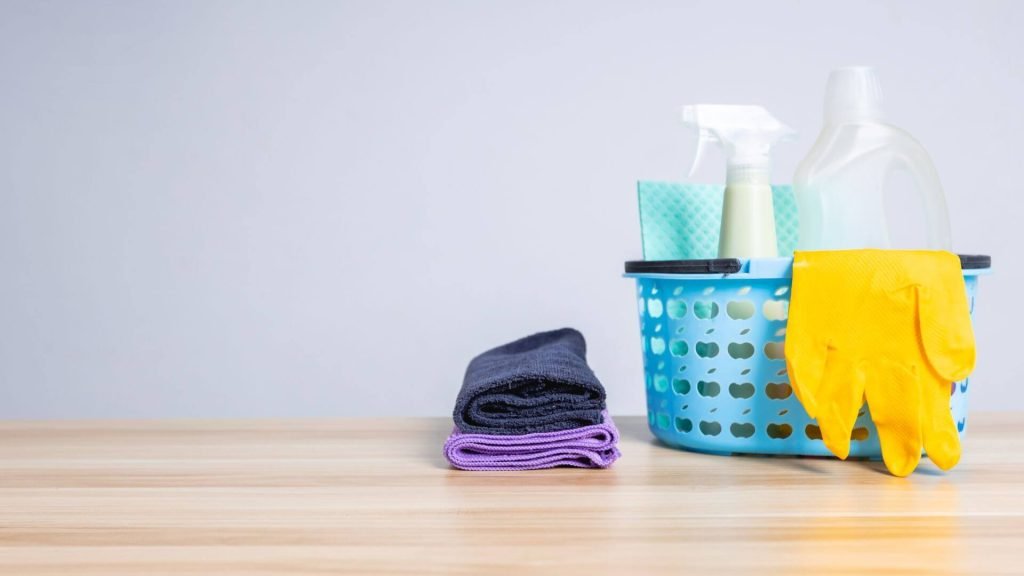
For this process, you’ll need:
- Rubbing alcohol
- Large brush
- Small brush
- Screwdriver set
- Water
- Soap
- Glass shine spray
- Microfiber towel
- Gloves (optional)
When picking out rubbing alcohol, go with a 70% concentration or higher. Anything lower than that won’t help you with disinfecting the device.
Ideally, for this project, a 90% solution should work well.
Related: Record Friend vs. Spin Clean record cleaner comparison
Step 2: Remove and Clean the Lid
With all your materials and tools in reach, begin taking the Dual turntable apart. The first part of that is removing the protective lid.
This is the plastic covering that sits on top of the device.
There are a few ways the lid attaches to the device. Usually, there will be a sort of latch on the back of the turntable that secures the component.
Find the latch and release it to detach the cover.
During this part, you can grab your microfiber towel and the glass shine spray. Give the lid a good shower of the cleaning solution and let it sit for a minute.
Then, using the towel, gently wipe down the surface. What you’re looking for here is a shiny, reflective surface.
That may mean you need to repeat this process a couple of times.
Step 3: Remove and Clean the Cartridge
The cartridge is the removable part attached to the end of the tonearm. That’s the section that rests on the vinyl records to play them.
Find the screw that secures both structures together and take it out. You should be able to do that with your hand, but you can use the screwdriver set to help.
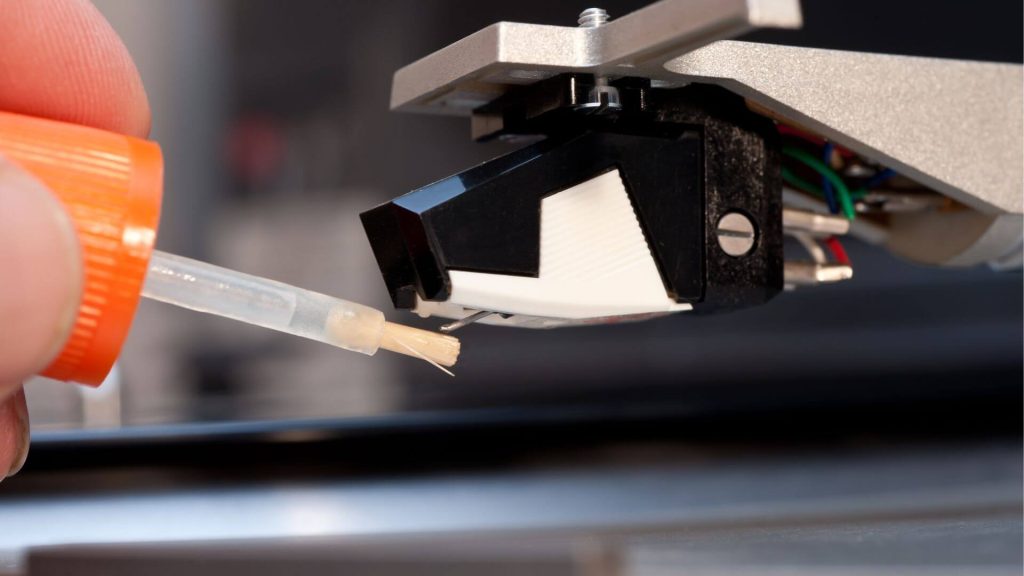
Next, focus on the cartridge, or rather specifically, the stylus. This is the pointy, needle-like component coming out of the device.
Since the stylus reads the grooves on a record, it’s incredibly sensitive. For that reason, this step is a little tricky.
Pick up your small brush and dip it in a little alcohol. Then, using up and down motions, clean any dust off the stylus.
Avoid moving the stylus to either side, or you may risk bending the structure. If that happens, the cartridge won’t be able to function and will need replacement.
Related: How To Clean Turntable Cartridge
Step 4: Remove and Clean the Platter
Most of the time, the platter is the messiest part of the entire turntable. That’s because every time you change out a record, you touch the component with your hands.
After a while, this will cause a build-up of your natural oils. To get rid of these greasy spots, remove the platter from the casing.
Begin by taking out the platter mat if you have it. Then, depending on your turntable model, this next part will be a little different.
The most common type of platter is the friction fit.
That means the component relies on surrounding structures to stay in place. If that’s the case, then all you need to do is pull on the platter to coax it out of place.
Yet, some models rely on screws to keep the part stationary. For this scenario, pull out your screwdriver set and remove the supports.
Once that’s done, spray the platter with a good amount of alcohol. You don’t want any dripping, but make sure the entire surface is damp.
Next, use the large brush to give the component a good scrubbing.
Users also read: How To Align Turntable Cartridge: A Brief Tutorial
Step 5: Dust the Turntable
Now, you can turn your attention to the plinth and other stationary components of the device. To clean these sections, grab your large brush.
Make sure the bristles are dry, then dust the surface of your turntable. This should allow you to remove most of the debris on the plinth with minimal effort.
After that, pick up the alcohol spray and moisten your brush. Avoid spraying the solution on the turntable directly.
The extra moisture could end up damaging some of the smaller wires on the device. With a damp brush, go over the surface of the plinth and clean off any debris.
You can even bring out your small brush to get into every groove and crevice.
Step 6: Assemble the Device
Moving on, our last step involves you putting all the components back where you found them. The easiest way to do that is to work your way backward.
That means placing the platter first, then the cartridge, and finally, the lid.
However, before you do that, ensure that all the sections are completely dry. You don’t want to risk any moisture making its way into the device’s electrical system.