
“Somebody was trying to tell me that CDs are better than vinyl because they don’t have any surface noise. I said, “listen, mate, life has surface noise — John Peel
I wasn’t convinced by this quote when I first read it. It made no sense to me that I would willingly go for seemingly lower-quality music. However, I believe everything deserves its chance. So, as a music enthusiast, I went ahead and got myself a Crosley Cruiser turntable.
The surface noise did appear, but the music touched my heart more than any modern player did. The blend of future music with the classic vinyl just hits different.
One thing I didn’t like, though, is how the NP6 needle wore out and considerably reduced the sound quality. With my little experience in turntables, I didn’t know what I was supposed to do.
Luckily, I discovered that you could easily purchase a new NP6 needle and replace it without professional assistance. So, today, I’ll show you how to replace NP6 needles so you can enjoy your blend of future and past as well.
How to Replace NP6 Needle
To replace an old NP6 needle, you need to hold the tonearm and carefully remove the old NP6 needle. You’d then have to correctly insert a new needle without damaging its grooves or the tone arm.
But why should you do that, to begin with? How does a needle control your sound quality? When should you replace your needle? And why would you need to replace the NP6 needle every once in a while?
NP6 Needle and Sound Quality
Vinyl record players require a needle or a stylus that can ‘read’ the grooves on the vinyl. When the needle follows the grooves on the record, it sends out an electric signal which the tone arm transfers to the amplifier.
Once those signals reach the amplifier, it vibrates and sends the resulting sound into the speaker, which our ears understand as music.
The process begins with how accurately the needle moves into those vinyl grooves. To ensure the best quality and longevity, vinyl record players used to have needles made from industrial gemstones like diamonds.
The high wear resistance of such needles kept them working for longer times before they needed replacement. NP6 needles, on the other hand, are made from high-grade ABS plastic composites.
Although not as wear-resistant as diamond, ABS plastic is still a much more cost-efficient replacement that can have a considerable lifetime. Needles made from ABS plastic still produce good sound quality, but they will wear out with time. That’s when you’ll need to replace them.
When Should I Replace My NP6 Needle?
You should replace your NP6 needle or stylus once there’s a considerable sound quality difference.
Changing the NP6 needle isn’t just for the sound quality; it’s also for the vinyl record. A bad or a worn-out needle can actually damage your precious vinyl if it grinds against it for extended periods.
I failed to notice the difference in my Crosley Cruiser turntable’s sound because the wear out was gradual and also because I’m not that attentive. I ended up damaging a vinyl because of that.
To prevent that from happening again, I recorded the sound quality of my turntable right after placing a new needle. Then, I would record the sound again every month and compare the two. It’s a simple workaround that can save you some headaches.
Replacing the NP6 Needle
Assuming you already have a replacement needle, here’s how to replace your NP6 needle in detail:
1. Loosening the Tonearm
Remove the tonearm from its rest and hold it using your non-dominant hand. Of course, you can hold it with any hand you like; it’s just that removing the needle from the tonearm requires delicate finger positioning.
It could be difficult to hold the arm with your dominant hand and use the non-dominant one to change the needle.
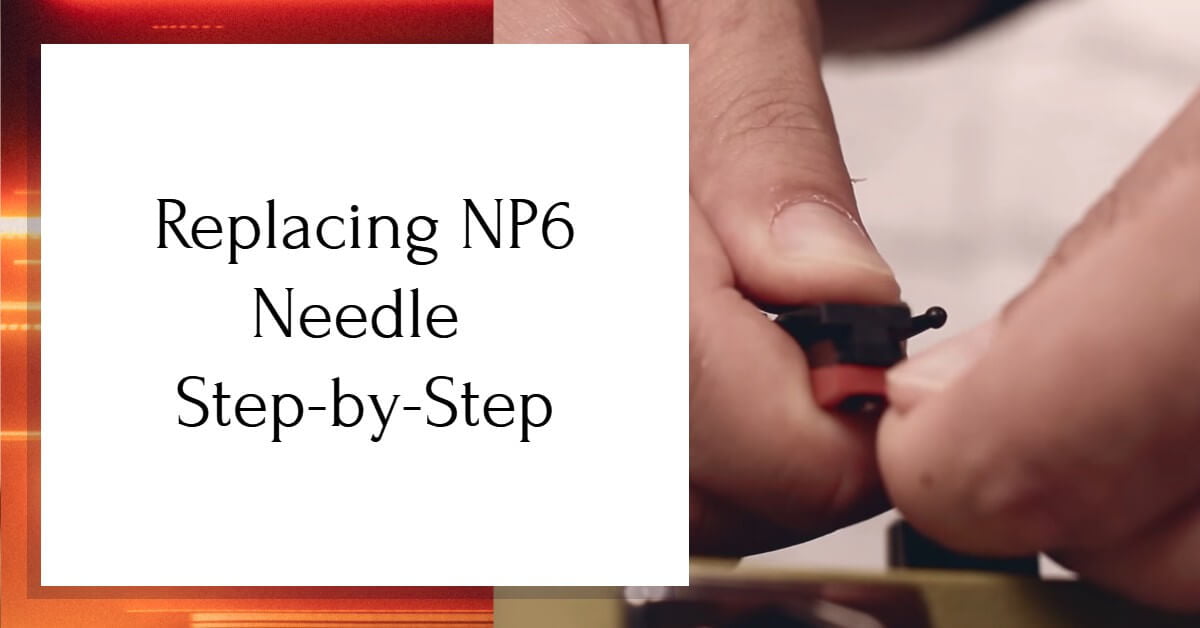
2. Detach the Needle
Place your thumb’s nail between the tonearm’s plastic (usually black in color) and the NP6 red needle. You’ll then need to gently push down the needle with your nail to detach it from its insertion point.
If you can’t place your fingernail there or simply don’t want to, try a flat type (slotted) screwdriver. I’ve grown the habit of using that screwdriver because it’s more comfortable.
I was initially worried about damaging the needle, but it’s pointless since you’re going to discard it anyway, so just focus on not harming the tonearm.
Users Also Read: How much is a Magnavox record player worth?
3. Replace NP6 Needle
Using your dominant hand, insert the new needle’s back end inside the corresponding grooves of the tonearm.
Then you’ll need to press the front end in the opposite direction of how you removed it.
Keep in mind that the needle may not snug in completely. I had a couple of times where the needle faked being inserted, but it wasn’t. So make sure you hear that ‘tick’ as the needle gets in place.
Another way to check that the needle cartilage is secure in place is by looking at the stylus itself. It should be perpendicular to the vinyl.
FAQs
How Long Do Crosley NP6 Needles Last?
Crosley advertises their high-end needles to last approximately 1,000 hours (3–5 years.) While that may be true, the sound quality doesn’t remain the same. Users reported that the sound quality started to dampen after around 500 hours (1 year.)
What’s The Average Lifespan Of A Needle?
The average lifespan of a stylus ranges between 200 and 1,000 hours. Crosley NP6 needles lie in the middle of the spectrum with their 1,000 hours.
Can Old Needles Damage Your Records?
Old or damaged needles will undoubtedly cause damage to your vinyl. Therefore, it’s always worth checking the needles occasionally to ensure that your vinyl is safe.
How Often Should I Clean My NP6 Needle?
You should clean your NP6 needle at least once a week. A damp napkin with alcohol or a water drop should do the trick.