
My entire life, I’ve been team distilled water and microfiber cloth for cleaning vinyl records. I came across the idea of using ultrasonic cleaners, but I didn’t think they’d make a difference. The new me, who proudly owns a DIY ultrasonic vinyl record cleaner, knows better.
I mean, an original copy of The Beatles’ “Yesterday and Today” album can now fetch up to
$125,000. After learning that, I felt compelled to do whatever it took to keep my humble collection in tip-top condition! Who knows how much it’ll cost in 20 years?
In this article, I’ll go over how ultrasonic cleaners can help you preserve your records for longer. I’ll also let you in on how to make a DIY ultrasonic cleaner for your vinyl records, so keep reading!
Why Use an Ultrasonic Cleaner to Clean Vinyl Records?
The short answer is that ultrasonic cleaners are one of, if not the, safest and most effective ways to clean vinyl records.
The unfortunate reality is that dust will find its way to the records regardless of how well they’re stored. Over time, dust accumulation in the grooves will begin to affect the sound quality. Worse, those insignificant dirt particles can cause damage to the stylus as well as the record itself.

That’s why thoroughly cleaning your vinyl records is an important step in preserving them. By the way, at the end of the article, I’ll go over the remaining steps for properly storing your records.
Although dampening a microfiber cloth is safe, it doesn’t clean everything out of those narrow grooves. Besides, if you didn’t get high-quality cloth, it’ll most likely scratch your record.
Whereas, ultrasonic cleaners are specifically designed to remove tough residues from any tricky or even hidden area of an object. The best part is that they do so with the least amount of friction.
How Does an Ultrasonic Cleaner Work?
To begin, ultrasonic cleaning systems have three major components:
- Ultrasonic cleaning tank
- A liquid medium, either water-based or solvent-based
- Wetting agent
Simply put, the ultrasonic cleaning tank is filled with fluid and a wetting agent to create a liquid medium. When turned on, the ultrasonic cleaner’s tank transmits high-frequency sound waves.
These waves propagate through the liquid medium, and into the immersed object that needs to be cleaned.
At this point, the wetting agent will work its magic since its primary purpose is to reduce surface tension and boost cavitation. While we’re at it, here are some great wetting agents for cleaning vinyl records with an ultrasonic cleaner:
- Kodak Photo-Flo
- Ilford Ilfotol
- Tergikleen
You see, cavitation, which is caused by the high frequency transmitted, is the fundamental concept of ultrasonic cleaners. To explain, cavitation is the phenomenon of creating numerous “bubbles” in a liquid solution.
These micro bubbles keep imploding rapidly and with significant force on the object’s surface. This process eventually causes any contamination to dissociate from the object.
How to Make a DIY Ultrasonic Vinyl Record Cleaner
Building a DIY ultrasonic vinyl record cleaner is one of those projects you won’t regret doing. It doesn’t require a lot of time, effort, or even money. The good news is, I took one for the team and sat through those hour-long YouTube tutorial videos so you don’t have to!
First, I’d like to give you a summary of what we’re about to do to help you visualize the project. I know that’s an important step for any DIYer, so I’ve got you covered.
We’ll have an ultrasonic cleaner on hand, and we’ll build a washing rack to support the records while they’re being cleaned. We’ll also spice things up by having the records spin automatically in the cleaner during their washing cycle.
Related: Squeaky Clean vs Spin Clean
Tools Required
- Ultrasonic cleaning tank (6L)
- Wooden/plastic piece
- Small piece of balsa wood sheet
- Small piece of cork sheet
- Glue/double-sided tape
- Motor (1 RPM)
- Heavy-duty glue
- A small plastic tube (7-8 mm)
- Wooden/metal rod (6-7 mm)
Step 1: Build Side Attachments
The first thing you’ll need to do is build two identical attachments. When we get to the end, you’ll place each attachment on one side of the cleaning tank, where they’ll support the rod carrying your records. To build these parts, you can use either a wooden or plastic piece.
In fact, I came across a brilliant idea where someone built those parts out of Lego, and they worked quite well! The fun thing about this project is that there are no strict rules to follow. Simply understand the core idea of the design and work with what you have.
The exact dimensions of these attachments will vary depending on the thickness of your tank walls. However, the concept of building them remains the same.
Begin by measuring the width of the rectangular tank’s longest wall. Then you’ll make an attachment that somewhat resembles an “L.”
Each hanger should have a pathway on the shorter side of the “L” that’s the same width as the tank wall. This allows the attachment to have a grip or hook on the inside of the wall. Whereas, the longer side of the “L” or the attachment, will slide against the outer side of the wall.
Since the rod will go on top of the attachments, you should egrave a semicircle path on both of them. This path will ensure that the rod rotates easily when in position.
Step 2: Make Label Covers
The second step is creating a pair of label covers for your record. These covers serve two purposes in this project. The first is that when the record is placed in the tank, they’ll shield the labels from getting wet.
The second is when they’re placed on each side and pushed against each other, the covers help keep the record in place.
Both features limit the record from leaning on any side while rotating on the rod, which would prevent the disc from going all the way around. By ensuring smooth rotation, they allow for the thorough cleaning of the entire record.
All you need to do is cut two discs from both the cork and balsa wood sheets. Label sizes vary from one vinyl record to another. Thus, take a few of your records as a sample and design a cover that’ll fit all of the label sizes you have.
Then, attach the pair of cork disks to the pair of wood disks using glue or double-sided tape. Finally, make a hole in the center of the finished covers to allow the rod to pass through. Make sure the hole isn’t too big for the rod and that it fits snugly.
Also Read: How to clean dual turntables
Step 3: Attach the Motor
In this step, you’ll need to position the motor on the exterior of one of the attachments. You can use heavy-duty glue or duct tape, whichever you have on hand. Remember that the motor’s spindle should be fixed directly above the hanger.
Next, insert the plastic tube into the spindle, which will serve as the connecting point between the motor and the rod. To be honest, I got this plastic tube from an old spray bottle I had lying around. So, before you buy one, look through your old spray bottles for a dip tube that’ll fit.
Step 4: Put Everything Together
Now comes the exciting part of putting your cleaner together:
- Begin by affixing the two attachments to their respective sides of the tank
- Insert one of your records into the rod
- Add the label covers on both sides
- Secure the covers by pressing binder clips against them
- Place the rod across the tank so that it rests on the engraved parts of the attachments
Important note: Make sure the record isn’t touching the tank’s bottom and that the labels are above the water level. If not, use any add-on that can slightly raise the attachments so that the record hangs higher.
- Finally, turn on the motor and ensure that it’s operating normally
How to Store Vinyl Records Properly
Vinyl records can last for many years or only a few months if not properly cared for. Cleanliness and proper storage are key to maintaining your records for as long as possible.
Since we’ve already discussed the best way to clean them, I’ll share with you now three pro storage tips:
1. Invest in Archival Inner Sleeves
Investing in archival inner sleeves for your records will safeguard them in a variety of ways. Those anti-static plastic sleeves will provide an extra layer of protection for your records against scratches and cracks.
Moreover, they’ll reduce the amount of dust or debris that reaches your records. These, and other kinds of protections will ultimately save your record from the common causes of wear and tear.
2. Store Vertically
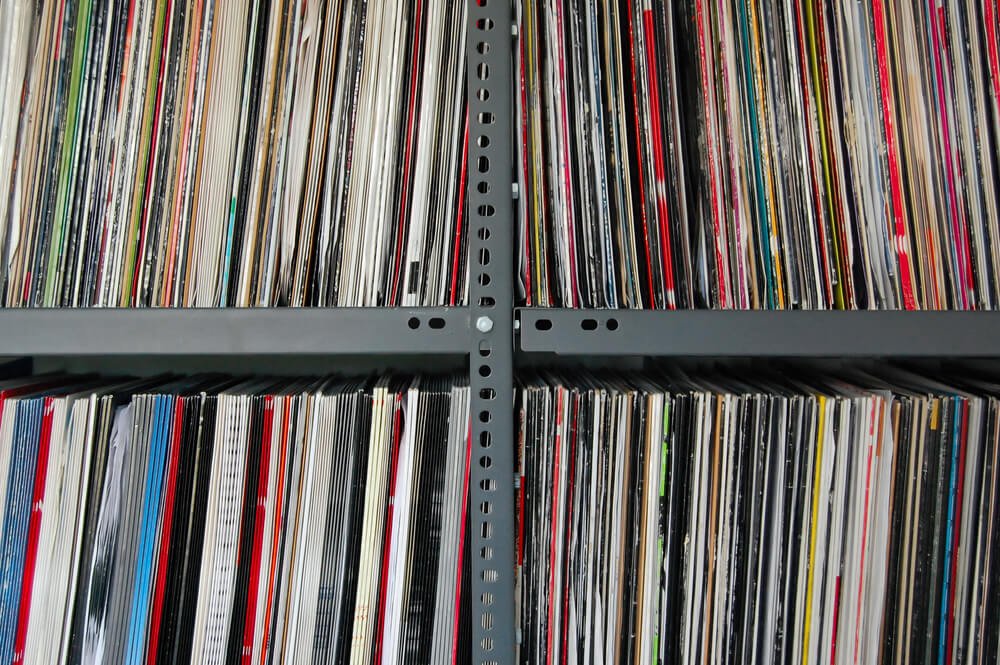
When storing vinyl records, keep them upright at all times. Never leave them lying horizontally or even leaning to one side while being vertically stored.
This puts your records at risk of wrapping, which can occasionally be fixed by flattening but not always, or bending. Thus, your best bet will be to stack them vertically against each other, firmly enough to keep them in place.
Must read: Pro-Ject Debut Carbon Evo vs. Rega Planar 1
3. Avoid Direct Sunlight Exposure
Keep the vinyl record shelf away from any areas of the house that receive direct sunlight. You should also be careful not to leave a record out in the sun or even in the car on a hot day.
Generally, Vinyl records can melt at around 200°F. Nonetheless, direct sunlight can easily cause them to lose their shape and, in some cases, become irreparably wrapped.